Table of Contents
Quality Service Guarantee Or Painting Free

Get a rental agreement with doorstep delivery

Find the BEST deals and get unbelievable DISCOUNTS directly from builders!

5-Star rated painters, premium paints and services at the BEST PRICES!
Loved what you read? Share it with others!


Submit the Form to Unlock the Best Deals Today

Help us assist you better

 ✕
✕
Check Your Eligibility Instantly

Experience The NoBrokerHood Difference!
Set up a demo for the entire community

Deep Clean Bathroom: A Comprehensive Step-by-Step Guide
Published : January 2, 2024, 5:59 PM
Updated : January 2, 2024, 5:59 PM
Author :
srivalli.susarla
Table of Contents
In every home, the bathroom stands as a place of both routine and relaxation. But over time, it can accumulate grime and moisture, subtly losing its shine. It's not just about regular cleaning; occasionally, it calls for a deeper touch. This guide offers a comprehensive approach to deep cleaning your bathroom, ensuring both cleanliness and comfort.
Step 1: Begin with Decluttering

Think of decluttering as the foundation of your bathroom's deep clean. It allows you to see the areas that require your attention and ensures that your cleaning efforts aren't wasted on unnecessary items. Here’s how -
- Empty Out: Begin by emptying all drawers, shelves, and cabinets. This way, you can get a clear view of what you have.
- Sort Items: Segregate items into categories: 'keep', 'discard', 'recycle', and 'donate'. Just as a chef organizes their ingredients before cooking, sorting will give you clarity on your bathroom essentials.
- Check Expiry Dates: This might sound obvious, but many of us forget. Some items like cosmetics and medications can be harmful when used past their expiry date. If in doubt, throw it out.
- Organize: Once you've decided what to keep, invest in storage solutions. Think drawer dividers, clear containers, or even over-the-door organizers. It’s like assigning a home for your belongings; when every item has its place, chaos is kept at bay.
- Maintain: Decluttering isn't a one-time activity. Make it a habit to go through your bathroom items periodically, perhaps every few months. After all, an organized space is a reflection of an organized mind.
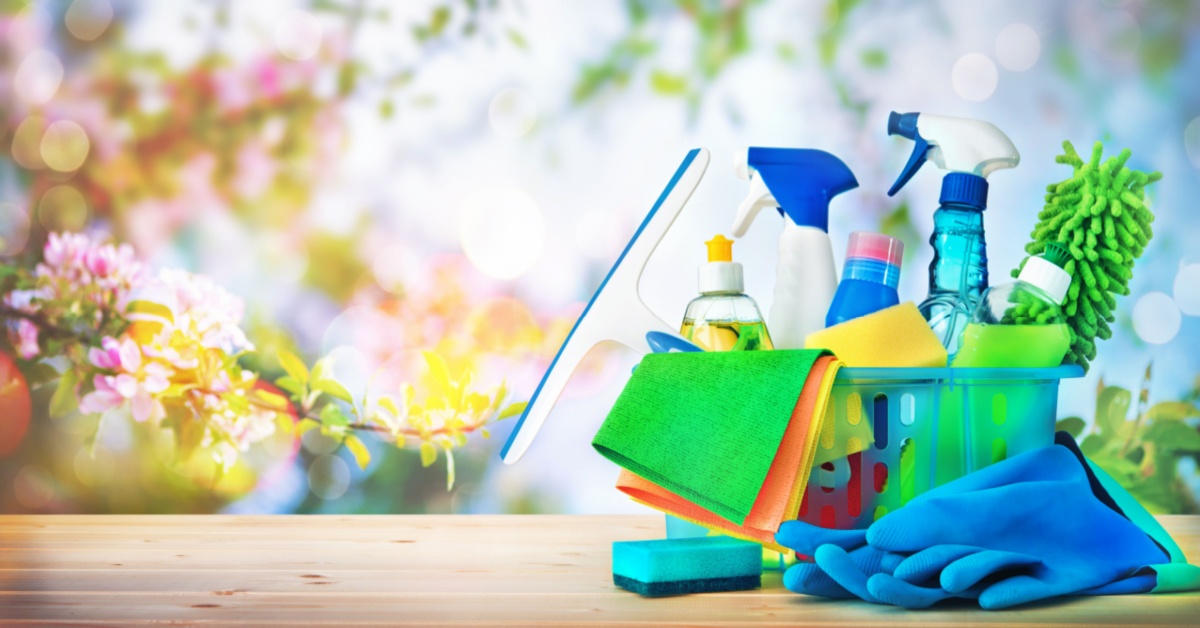
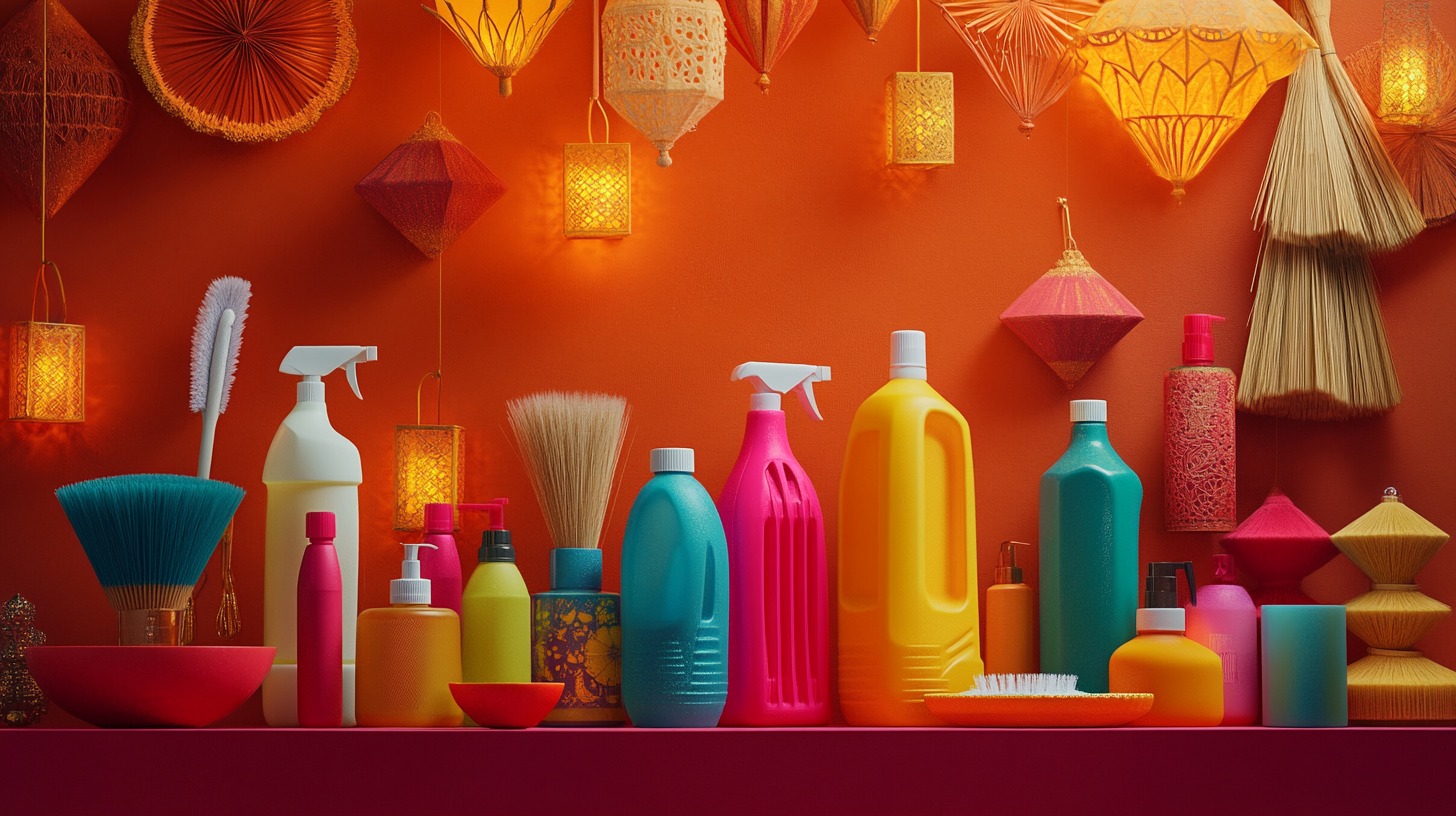
Step 2: Choose Your Cleaning Agents

Each surface and fixture in your bathroom may require a different cleaning approach. The cleaning agents you select should be safe for the materials in your bathroom, effective in removing grime and germs, and, ideally, environmentally friendly.
Quality Service Guarantee Or Painting Free
Get a rental agreement with doorstep delivery
Find the BEST deals and get unbelievable DISCOUNTS directly from builders!
5-Star rated painters, premium paints and services at the BEST PRICES!
Here’s how to choose the right cleaning agent for your bathroom -
- All-Purpose Cleaner: An all-purpose cleaner is your go-to for most bathroom surfaces. Look for one that's safe for both countertops and tiles. Ensure it's effective against soap scum, mould, and mildew.
- Toilet Bowl Cleaner: Choose a toilet bowl cleaner with disinfecting properties to eliminate bacteria and germs. Remember to wear gloves and use a toilet brush for thorough cleaning.
- Glass Cleaner: For mirrors and glass shower doors, a streak-free glass cleaner is essential. Look for one that leaves surfaces sparkling without residue.
- Grout and Tile Deep Cleaning: To tackle tile and grout, invest in a specialized cleaner. It should effectively remove dirt, soap scum, and mildew without damaging the grout.
- Disinfectant Spray or Wipes: These are crucial for disinfecting high-touch surfaces like faucet handles, doorknobs, and light switches. Ensure the product you choose is EPA-approved for disinfection.
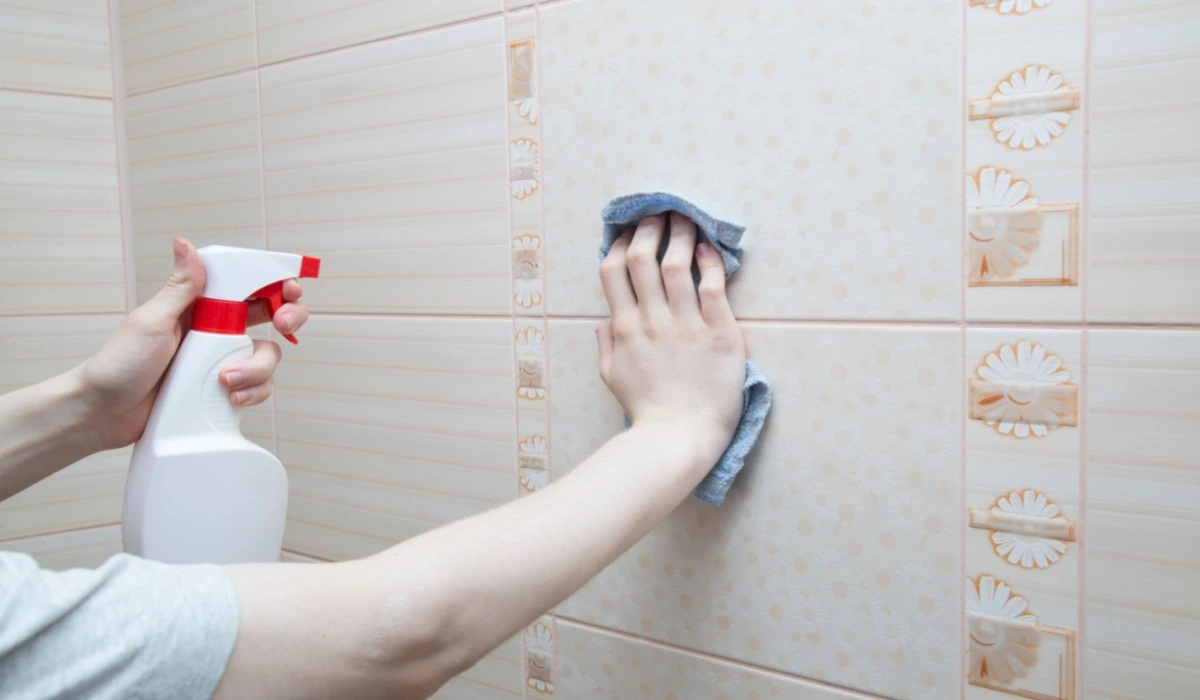
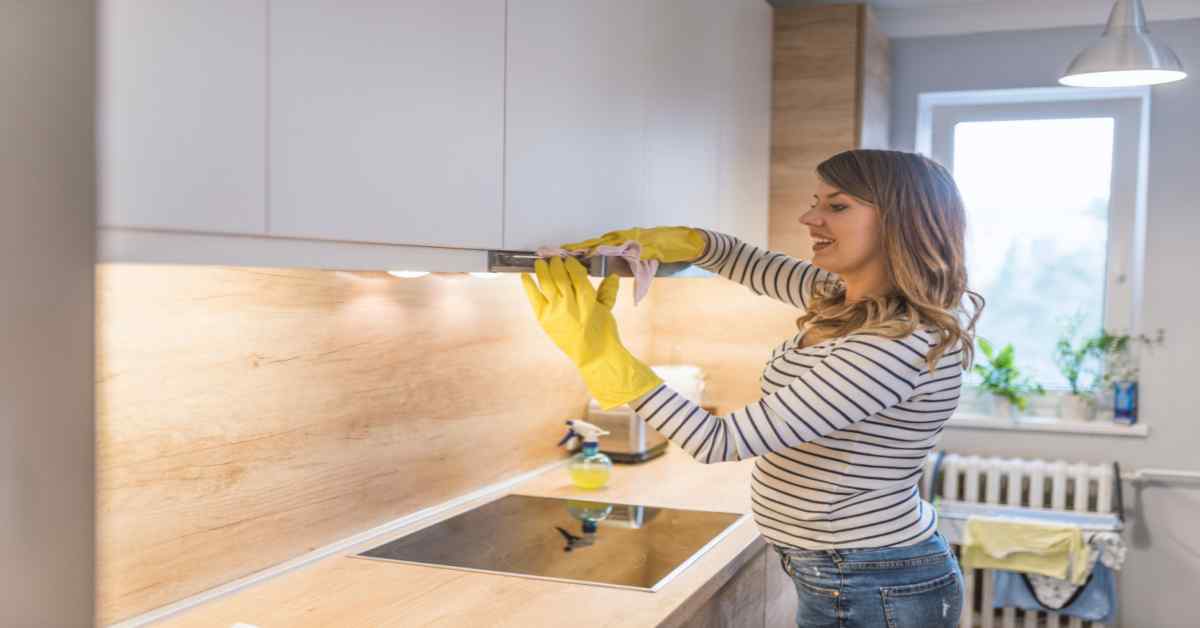
Step 3: Start with the Ceiling and Walls

The bathroom ceiling and walls are exposed to humidity, which can lead to the growth of mould and mildew. Cleaning these areas not only improves the overall appearance of your bathroom but also contributes to a healthier environment.
Here’s how to clean the ceiling and walls -
- Dust Off: Use a long-handled broom or a duster to sweep away cobwebs and loose dust from corners and light fixtures.
- Prepare Your Solution: For general cleaning, a mixture of warm water and a few drops of dish soap can be effective. If mould or mildew is present, consider a solution with white vinegar or a specialized cleaner.
- Wash: Using a soft sponge or cloth, gently scrub the walls. For higher areas, consider using a mop or an extended brush. Always start at the top and work your way down.
- Tackle Stubborn Stains: For spots that won’t budge, try a paste made from baking soda and water. Gently scrub and rinse.
- Rinse and Dry: Use clean water and a new cloth or sponge to rinse off any residue. Pat dry with a towel to prevent water spots or streaks.
- Ventilate: Keep windows open or run the exhaust fan to speed up the drying process and prevent mould growth.
Step 4: Addressing the Toilet

Beyond the obvious hygiene reasons, a dirty toilet can lead to unpleasant odours, staining, and even reduced functionality over time. It's an area where bacteria and germs can easily thrive if not addressed regularly.
Here are the steps to deep clean your toilet -
- Gear Up: Before starting, equip yourself with rubber gloves. Safety first!
- Flush to Wet: Start by flushing the toilet to wet the sides. It prepares the surface for cleaning.
- Apply Toilet Cleaner: Whether you’re using a commercial cleaner or a homemade mix, apply it to the inside of the bowl, especially under the rim. Let it sit for a few minutes to break down stains and kill germs.
- Scrub with a Toilet Brush: Get in there with a brush, ensuring you scrub all parts, including hard-to-reach areas. Focus on the rim, the bowl, and down into the U-bend.
- Clean the Exterior: Using an all-purpose cleaner or disinfectant wipes, wipe down the toilet's exterior. Don’t forget the flush handle, as it's a high-touch area.
- Address the Tank: Wipe down the tank with a damp cloth. Over time, dust and grime can accumulate on top and sides.
- Flush and Rinse: Once you've scrubbed thoroughly, flush the toilet. This will rinse the bowl and give you a chance to see if any stains remain.
- Maintain: Consider dropping a toilet bowl cleaner tablet in the tank. It can help keep the bowl cleaner between deep cleans.
Step 5: Bathtub and Shower Deep Clean

Beyond being aesthetic centrepieces, the shower and bathtub areas are continuously exposed to moisture, making them prone to mould and mildew. Moreover, slippery residues can pose safety risks.
Here are the steps to deep clean your bathtub and shower -
- Gather Supplies: Ensure you have a good scrubbing brush, cleaning solution (commercial or natural), and microfiber cloths or sponges.
- Begin with Dry Scrubbing: Before applying any cleaner, dry scrub the surfaces. This helps in loosening up soap scum and surface dirt.
- Apply Your Cleaning Solution: Spray or spread your chosen cleaning solution. Vinegar mixed with water can be effective for hard water stains while baking soda paste works well on stubborn spots.
- Scrub Away: Using your brush, scrub every nook and cranny. Pay special attention to grout lines, faucet areas, and drains.
- Use an Old Toothbrush: This is great for reaching tight spaces, like around fixtures or the edges of tiles.
- Rinse Thoroughly: Use lukewarm water to rinse away all cleaning agents. Ensure no residue is left behind, as it can be slippery and attract more dirt.
- Dry the Surface: Using a squeegee or microfiber cloth, dry the surfaces. This prevents water spots and slows the buildup of mould and mildew.
- Regular Maintenance: Consider using a squeegee to minimize water spots and soap scum buildup after showers or baths.
Step 6: Refreshing Your Shower Curtains

Shower curtains, though often overlooked, play a dual role in our bathrooms. They provide privacy and also protect the rest of the space from splashes. Beyond obvious aesthetic reasons, a grimy curtain can be a breeding ground for bacteria and mould, potentially leading to unpleasant odours and health concerns.
Here are steps to refresh your shower curtains:
- Inspection: Start by checking your shower curtain and doors for any visible damage or mould. This initial assessment determines if cleaning or replacement is needed.
- Machine-Wash Curtains: For curtains that are in good shape and machine-washable, use warm water, your regular detergent, a cup of baking soda, and during the rinse cycle, add a cup of vinegar.
- Opt for Hand Washing: If your curtain isn't suited for machine washing, fill your tub with warm water, add some laundry detergent, and gently scrub the curtain to get rid of dirt and stains.
- Air dry the curtains: Post-cleaning, hang your curtain in a ventilated area, allowing it to air dry. Refrain from machine drying as it can be harsh on certain curtain materials.
- Tidy up the Accessories: While the curtain dries, wipe down and clean the curtain rings and the shower rod, ensuring they're free of grime and buildup.
Step 7: Sink and Countertop Deep Clean

The sink and countertop are focal points in any bathroom, often housing our daily essentials like toothbrushes, soaps, and cosmetics. With constant use, they can accumulate grime, toothpaste splatters, and water spots.
Here are steps to deep clean the sink and countertop -
- Clear the Countertop: Start by removing all items from the countertop, ensuring an unobstructed space for cleaning.
- Prepare the Cleaning Solution: Use a mild detergent or create a mixture using equal parts of water and vinegar as your primary cleaning agent.
- Scrub the Sink and Faucet: Apply the cleaning solution to the sink and faucet areas. If you encounter stubborn stains, employ a paste made from baking soda and water to tackle them effectively.
- Wipe the Countertop: Utilize the aforementioned cleaning solution to wipe down the entire countertop. Take special care around corners and edges to ensure thorough cleaning.
- Addressing Faucet Handles: Given their frequent use, faucet handles can be germ hubs. Ensure they are scrubbed and cleaned meticulously.
- Rinse and Shine: After cleaning, wash off any residual cleaning solution with water. To achieve a gleaming finish without any streaks, dry the sink and countertop using a microfiber cloth.
Step 8: Renewing Hand Towels for Freshness

Hand towels, hanging gracefully by the sink, play an integral role in our daily bathroom rituals. However, with frequent use, they can harbour moisture, leading to mildew and unpleasant odours.
Here are the steps to renewing the hand towels -
Assess the Towels: Take a close look at your hand towels. Towels that are overly worn or have stubborn stains might need replacement.
Washing the Keepers: For towels still in suitable condition, a deep wash will do wonders. Use warm water, your go-to detergent, and introduce a cup of vinegar during the rinse cycle. The vinegar aids in dissolving any soap remnants and ensures the towels maintain their soft texture.
Drying with Care: Post-wash, make sure the towels dry thoroughly to ward off mould. Sun-drying them can offer added freshness and a hint of sun-kissed aroma.
Storage Tips: Once dried, fold and keep any extra towels in a spot that's both clean and dry, ensuring they're ready for future use.
Frequently replacing and washing hand towels not only guarantees cleanliness but also infuses a rejuvenating touch into the bathroom's overall feel.
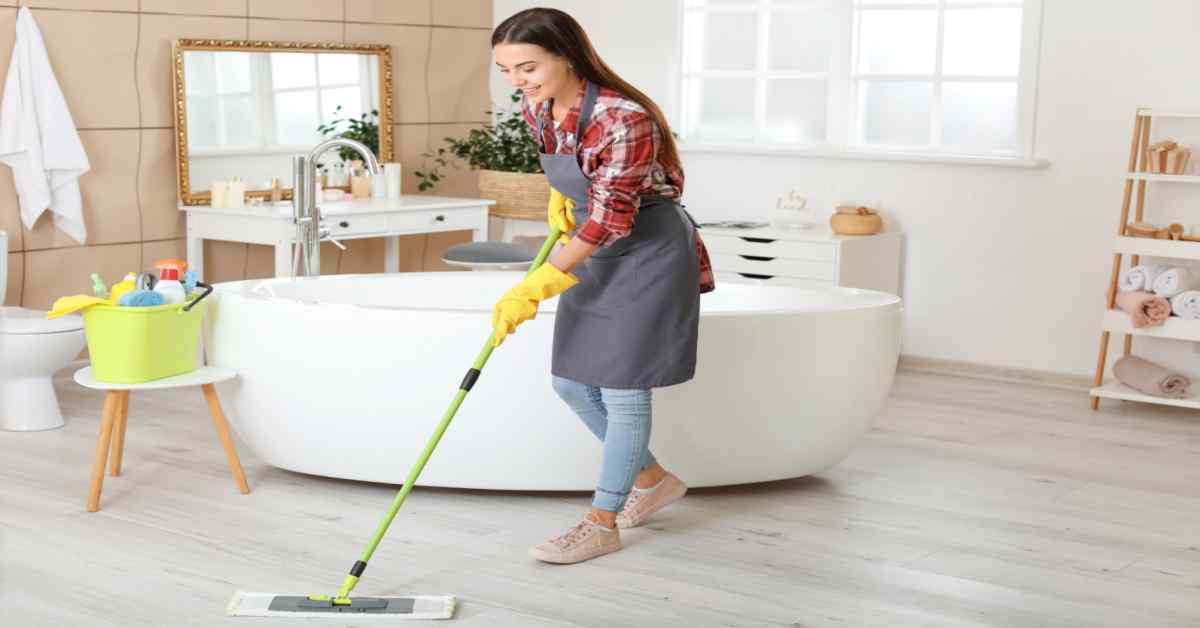
Step 9: Floors and Final Touches

A dirty floor isn’t just an unpleasant sight; it can be a safety hazard and a breeding ground for germs. Especially in a damp environment like the bathroom, neglecting the floor can lead to mould, mildew, and unsightly stains.
Here are the steps on how to clean bathroom floors -
- Sweep or Vacuum: Start by eliminating loose debris. This not only preps the floor for wet cleaning but also ensures larger particles won't scratch the surface.
- Choose Your Cleaner: A simple mixture of water and mild detergent usually does the trick. For tiled floors, pay special attention to grout lines.
- Mopping: Using a mop or cloth, ensure every inch of the floor is covered. Gentle scrubbing can help release more stubborn dirt.
- Dry Thoroughly: This step is crucial. Not only does it prevent slips, but it also stops watermarks and prolongs the floor's life.
Step 10: Maintaining and Sanitizing Your Bathroom Cleaning Equipment

Imagine a doctor using the same unsanitized instruments on multiple patients without cleaning them. Sounds alarming, right? The same principle applies to our cleaning tools. They work hard to eliminate dirt and grime, but if not cleaned themselves, they could become agents of contamination.
- Rinse After Use: Every time you use a tool, ensure it's rinsed immediately to remove immediate dirt and residues.
- Deep Clean with Vinegar: For tools like brushes and mops, a soak in a mixture of water and vinegar can be a game-changer. This natural solution helps in eliminating bacteria and gives your tools a fresh start.
- Laundry Time for Cloths: Cleaning cloths and rags should be laundered separately. Using hot water will help in removing any deep-seated dirt or germs.
- Air Dry: The importance of thoroughly drying your cleaning tools cannot be stressed enough. It not only prolongs their life but also prevents the growth of mould and mildew.
- Storage Matters: Once dried, store your tools in a dry and airy place. This keeps them ready for their next deep cleaning mission.
Step 11: Aromatherapy and Finishing Touches

Post-cleaning, the bathroom looks pristine. But how about making it feel spa-like? Consider using essential oil diffusers with scents like lavender or eucalyptus for relaxation. A well-placed plant or candle can also elevate the ambience, providing both aesthetic and aromatic pleasures.
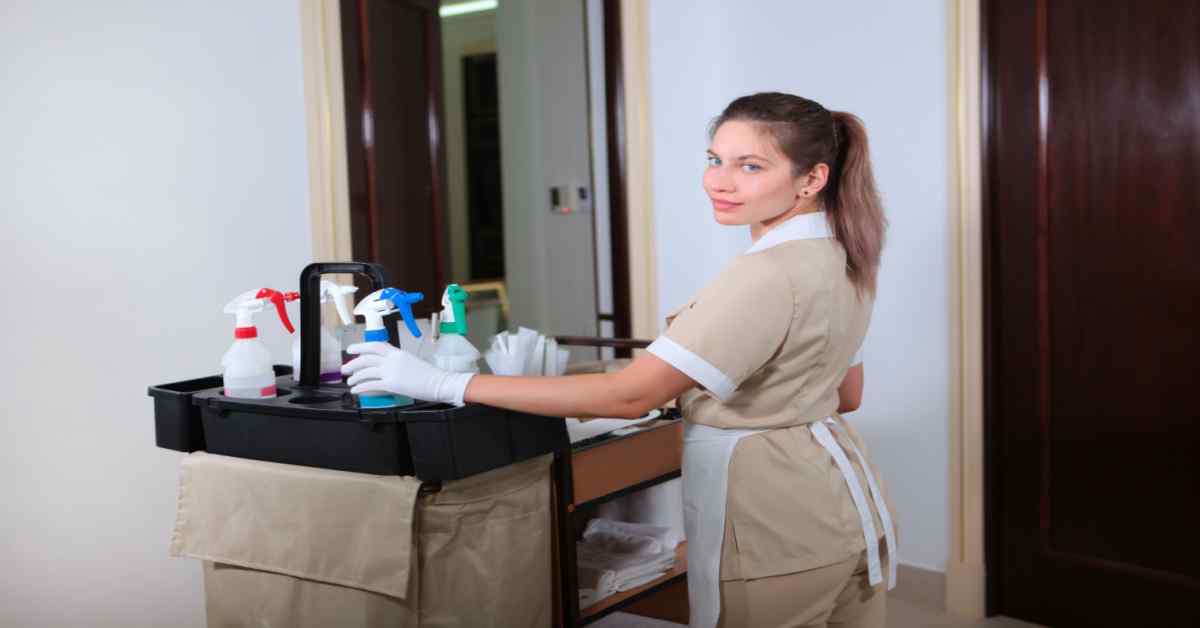
Elevate Your Bathroom's Cleanliness with NoBroker
After undertaking the comprehensive journey of deep cleaning your bathroom, you now understand the importance of every step and the transformation it can bring to this essential space in your home. However, while the DIY method is effective, sometimes life gets busy, or the task might feel overwhelming.
If you ever find yourself in need of a professional touch or simply want to indulge in a pristine bathroom without the hands-on effort, remember there’s a trusted solution at hand. NoBroker Deep Bathroom Cleaning Services provides expert care, ensuring every corner of your bathroom gleams without you lifting a finger.
Frequently Asked Questions
A. It's recommended to deep clean your bathroom at least once every month or two, depending on usage. However, if you have a high-traffic bathroom or notice visible dirt and mould, consider more frequent deep cleaning.
A. To maintain the shine of your bathroom tiles, regularly wipe them down with a mixture of water and mild detergent. Avoid harsh chemicals that can damage the grout. Periodically, deep clean the tiles to remove embedded dirt and soap scum.
A. A mixture of warm water and a few drops of dish soap often works well as a bathroom wall cleaner. For tougher stains, consider a specialized bathroom cleaner. Always test a small, inconspicuous area before widespread use.
A. Yes, bleach can be effective for disinfecting and removing tough stains, but it should be used with caution. Ensure proper ventilation, wear gloves and eye protection, and never mix bleach with other cleaning products. Follow the manufacturer's instructions for safe use.
A. Before professionals arrive, clear the bathroom of personal items and clutter to allow them easy access to all surfaces and fixtures. You may also want to inform them of any specific areas or issues that require special attention.
Recommended Reading
How to Clean Bathroom Tiles: Easy and Effective Methods for a Sparkling, Hygienic Bathroom for 2025
January 15, 2025
9738+ views

Bathtub Cleaning Solutions: Step-wise Cleaning Methods to Keep Your Tub Sparkling Clean in 2025
December 8, 2024
1583+ views
Bathroom Cleaning Checklist: Daily, Weekly, and Monthly Tasks Made Easy
December 1, 2024
2170+ views
Top 10 Bathroom Cleaning Tools for a Sparkling, Hygienic Space
October 12, 2024
686+ views
List Of Top 10 Bathroom Cleaning Apps in 2025
October 11, 2024
1469+ views
Loved what you read? Share it with others!
NoBroker Cleaning Testimonials
Most Viewed Articles
Diwali Cleaning Tips and Guide: Make Your Home Shine for the Festival in 2025
October 23, 2024
13791+ views
How to Clean Bathroom Tiles: Easy and Effective Methods for a Sparkling, Hygienic Bathroom for 2025
January 15, 2025
9738+ views
How to Clean Kitchen Exhaust Fan Properly?
January 15, 2025
7543+ views

October 10, 2023
7339+ views

Deep Clean Your Washing Machine: Step-by-Step Guide & Tips
October 16, 2023
7131+ views
 Author
Recent blogs in
Septic Tank Cleaning Methods: How to Clean a Septic Tank?
January 16, 2025 by Siri Hegde K
How to Remove Stains from Walls? Quick and Easy Tips to Restore Your Walls' Original Beauty in 2025
January 15, 2025 by Susan
How to Clean Kitchen Exhaust Fan Properly?
January 15, 2025 by srivalli susarla
Join the conversation!