
Table of Contents
Quality Service Guarantee Or Painting Free

Get a rental agreement with doorstep delivery

Find the BEST deals and get unbelievable DISCOUNTS directly from builders!
5-Star rated painters, premium paints and services at the BEST PRICES!
Loved what you read? Share it with others!

Submit the Form to Unlock the Best Deals Today


 ✕
✕
Check Your Eligibility Instantly

Experience The NoBrokerHood Difference!
Set up a demo for the entire community


Master the Art of Painting Wood Furniture: Process and Tips
Published : August 24, 2023, 11:20 AM
Updated : September 22, 2023, 5:55 PM
Author :
![]() Siri Hegde K
Siri Hegde K
Table of Contents
Wooden furniture carries a timeless appeal, but what if you could give it a fresh and modern look? Painting wood furniture is a fantastic way to update its style and breathe new life into your interior décor. Whether you want to revamp a vintage piece or add a pop of color to your space, this guide will walk you through the process and provide valuable tips for a successful transformation.
Choosing the Perfect Palette: Selecting Furniture and Paint
Embarking on a successful wood furniture painting project starts with making the right choices in terms of furniture pieces and paint selection. Ensuring that you're working with the appropriate materials is key to achieving a stunning and long-lasting result. Here's a detailed breakdown of the factors to consider when choosing your palette:
Selecting Suitable Furniture
- Opt for furniture pieces with a smooth surface and solid construction, as these are more conducive to a successful paint application.
- Inspect for any existing damages or flaws that might affect the painting process or the final result.
- Consider the size, style, and purpose of the furniture to ensure it aligns with your overall design vision.
Choosing the Right Type of Wood
- Different wood types react differently to paint and finishes. Some woods have a natural grain that may show through the paint, adding texture and character.
- Woods like oak, pine, and birch are commonly used for painting due to their smooth texture and versatility.
- Avoid using woods with excessive knots, rough patches, or open grain, as these can create challenges during painting.
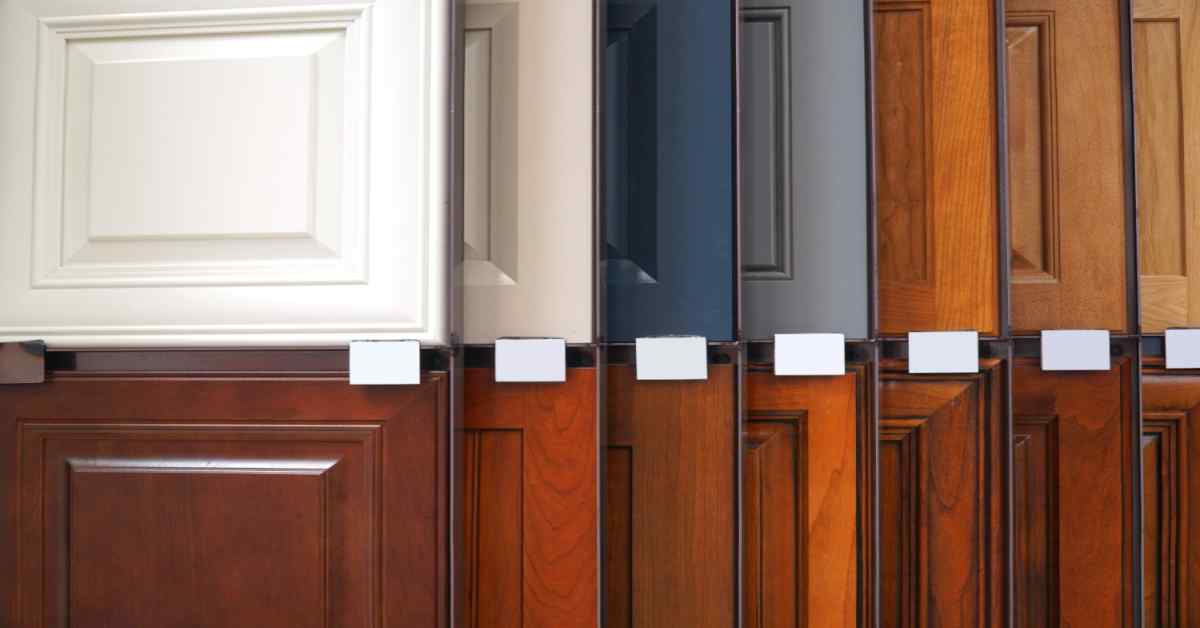
Exploring Paint Options
- Chalk Paint: Known for its matte, vintage-inspired finish. It adheres well to most surfaces and requires minimal surface preparation.
- Latex Paint: Offers a wide range of color choices, dries quickly, and is easy to clean up. It provides a durable finish suitable for furniture.
- Oil-Based Paint: Known for its durability and glossy finish. It requires longer drying times and proper ventilation during application.
Consider the desired finish, level of sheen, and the amount of wear and tear the furniture will endure.
Quality Service Guarantee Or Painting Free
Get a rental agreement with doorstep delivery
Find the BEST deals and get unbelievable DISCOUNTS directly from builders!
5-Star rated painters, premium paints and services at the BEST PRICES!
Paint Compatibility
- Ensure that the chosen paint type is compatible with the wood you're working with.
- Research how each paint type interacts with different wood grains and textures.
- Take into account the environment where the furniture will be placed (indoor, outdoor, high humidity, etc.) to select a paint that can withstand the conditions.
By carefully considering these factors, you'll set a strong foundation for your wood furniture painting project. Remember that choosing the right furniture and paint is the first step towards achieving the desired look and ensuring the longevity of your painted masterpiece.
Unveil the Canvas: Preparing Your Wooden Masterpiece
Before you dive into the exciting process of painting your wooden furniture, it's essential to prepare the canvas properly. Proper preparation lays the foundation for a smooth and professional-looking finish. Here's a comprehensive guide to each step of the preparation process:
Thorough Cleaning
- Remove all dust, dirt, and grime from the surface of the furniture. Cleaning ensures proper paint adhesion and a flawless finish.
- Use a mild detergent solution or a wood cleaner to gently clean the surface. Avoid harsh chemicals that might damage the wood.
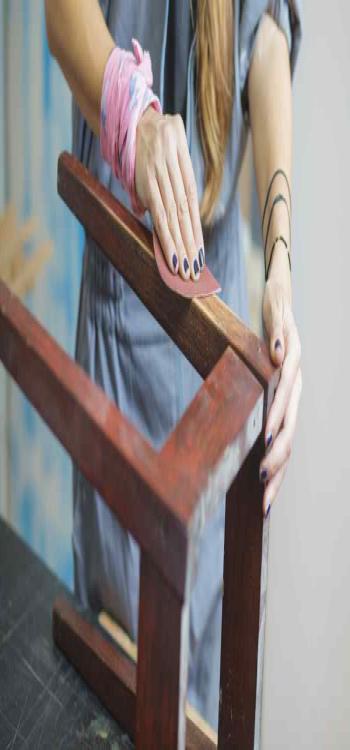
Sanding for Smoothness
- Sanding is a critical step to achieve a smooth and even surface for the paint to adhere to.
- Start with a coarser grit sandpaper (around 120-150) to remove any rough spots, old finishes, or imperfections.
- Progress to finer grit sandpaper (around 220-320) for a smoother finish. Sand in the direction of the wood grain to avoid scratches.
Filling Imperfections
- Wood filler is your secret weapon for repairing cracks, holes, and dents in the wood.
- Apply the wood filler to the imperfections, ensuring it's level with the surface. Allow it to dry completely.
- Sand the filled areas gently to blend them with the surrounding wood.
Wood Furniture Painting Preparation Checklist
| Step | Action |
| 1 | Clean the furniture thoroughly |
| 2 | Use a mild detergent or wood cleaner |
| 3 | Start sanding with coarse grit sandpaper |
| 4 | Progress to finer grit sandpaper |
| 5 | Sand in the direction of the wood grain |
| 6 | Apply wood filler to imperfections |
| 7 | Sand filled areas gently for a smooth finish |
Gearing Up for Artistry: Essential Supplies to Elevate Your Craft

As you embark on your journey to transform your wooden furniture through painting, it's essential to gather all the necessary tools and materials. Having the right supplies at hand will ensure a seamless and successful painting process. Here's a rundown of the essential items you'll need:
Brushes
- Choose high-quality brushes designed for the type of paint you're using.
- Different brushes serve various purposes, such as detail work, larger surfaces, or even special effects.
Sandpaper
- Ensure you have sandpaper with different grits, ranging from coarse to fine.
- Coarser grits for initial sanding, and finer grits for achieving a smooth finish.
Primer
- Select a primer that is compatible with your chosen type of paint.
- Primer enhances paint adhesion, covers imperfections, and improves the final result.
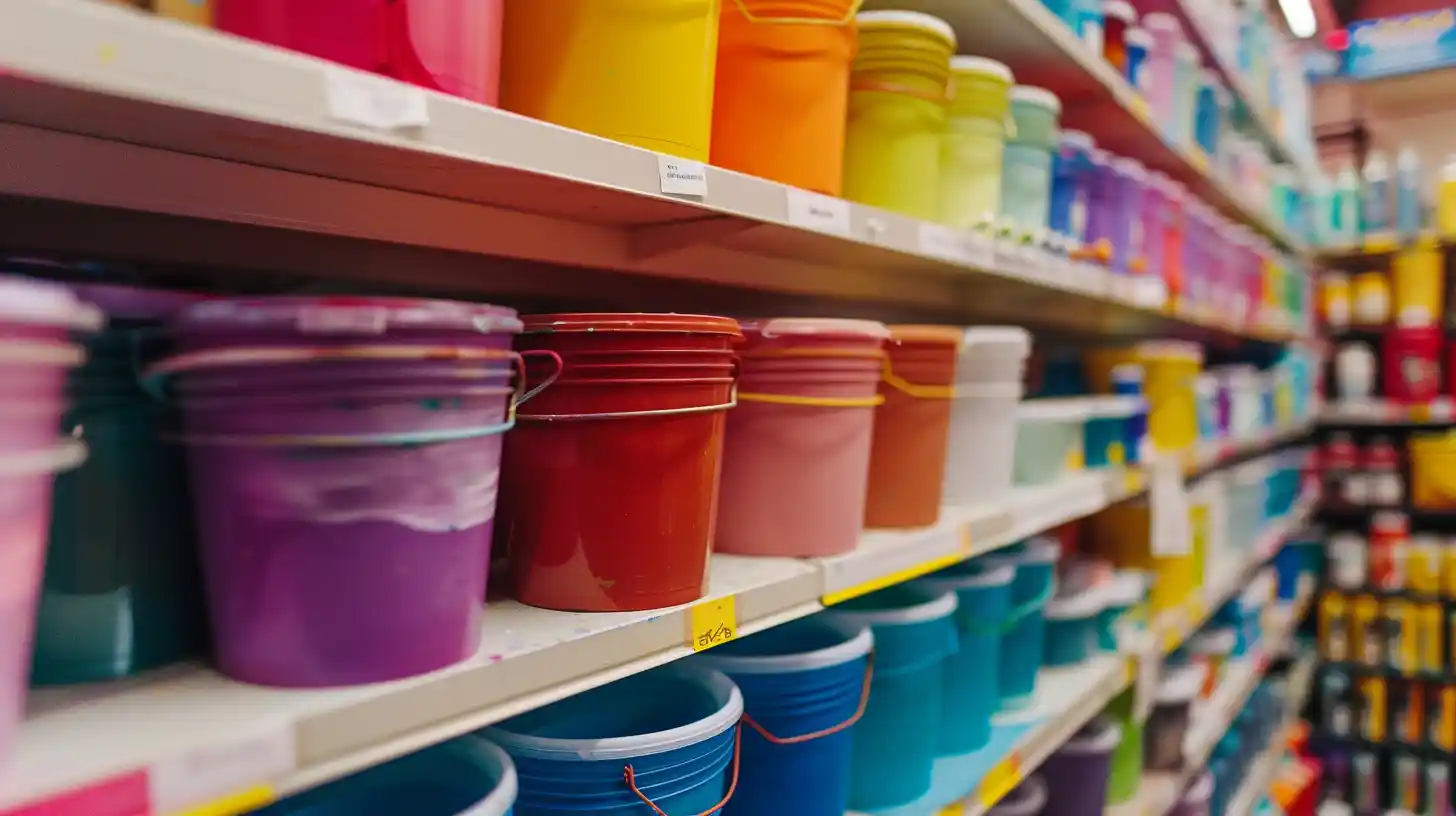
Paint
- Choose the paint color and type (chalk, latex, oil-based) that aligns with your vision.
- Consider purchasing more paint than you estimate to avoid running out during the project.
Drop Cloths
- Protect your workspace by laying down drop cloths to catch any paint drips or spills.
Protective Gear
- Wear appropriate protective gear such as gloves, safety goggles, and a mask to prevent inhalation of paint fumes and particles.
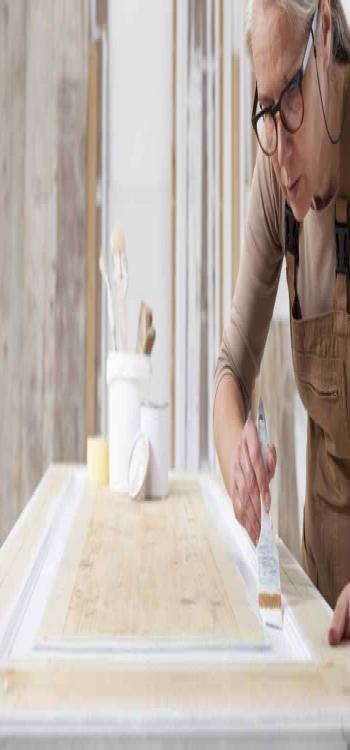
The Foundation of Flawlessness: Priming for Perfection
When it comes to achieving a flawless paint finish on your wooden furniture, the role of a primer cannot be overstated. Priming is a crucial step that enhances paint adhesion and covers imperfections, setting the stage for a smooth and professional-looking result. Let's delve into why using a primer is essential and how to go about it:
Benefits of Using a Primer When Painting Wooden Furniture
- Improved Adhesion: A primer provides a bonding surface that allows the paint to adhere more effectively to the wood, preventing chipping and peeling over time.
- Uniform Surface: Priming helps create a consistent and even surface, minimizing variations in texture and appearance.
- Enhanced Coverage: By creating a solid base, a primer helps the paint achieve full coverage with fewer coats.
- Hides Imperfections: Primers can effectively mask small imperfections like scratches, blemishes, and discolorations, ensuring a smooth finish.
Step-by-Step Guide to Priming Surfaces Before Paintinf Wooden Furniture
- Prepare the Surface: Ensure the furniture is clean and free from dust, grease, and debris. Sand the surface lightly to create a smooth base.
- Choose the Right Primer: Select a primer that is compatible with the type of paint you'll be using (water-based, oil-based, etc.).
- Ventilation: Work in a well-ventilated area or outdoors to avoid inhaling primer fumes.
- Apply Thin Coats: Using a paintbrush or spray, apply a thin and even coat of primer to the furniture's surface. Avoid over-application to prevent drips and uneven drying.
- Allow Drying: Follow the manufacturer's instructions for drying time. Ensure the primer is completely dry before proceeding to the next step.
- Light Sanding (Optional): If needed, lightly sand the primed surface to achieve an ultra-smooth finish before applying the paint.
- Check for Coverage: Inspect the primed surface for complete coverage and uniformity. If necessary, apply a second coat for optimal results.
Mastering the Stroke: Artistic Techniques to Elevate Your Finish

| Painting Techniques | Brush Painting | Spray Painting |
|---|---|---|
| Pros | - Control over application | - Efficient coverage of large surfaces |
| - Variety of finishes | - Smooth and even finish | |
| - Cost-effective | - Uniform coating | |
| - No risk of overspray | ||
| Cons | - Brush marks may be visible | - Overspray can affect nearby surfaces |
| - Time-consuming for larger projects | - Requires proper ventilation and safety gear |
Exploring Painting Techniques for Wooden Furniture
- Brush Strokes: Experiment with different brush strokes to create textures and patterns on your furniture.
- Stippling: Dabbing a brush onto the surface creates a stippled effect, adding depth and visual interest.
- Distressing: Intentionally distressing the paint with techniques like sanding or scraping can create a charming, weathered look.
Choosing the right painting technique can help you achieve your desired finish and transform your furniture into a work of art. Whether you opt for the control of brush painting or the efficiency of spray painting, infusing creative techniques will give your furniture a unique and personalized touch.
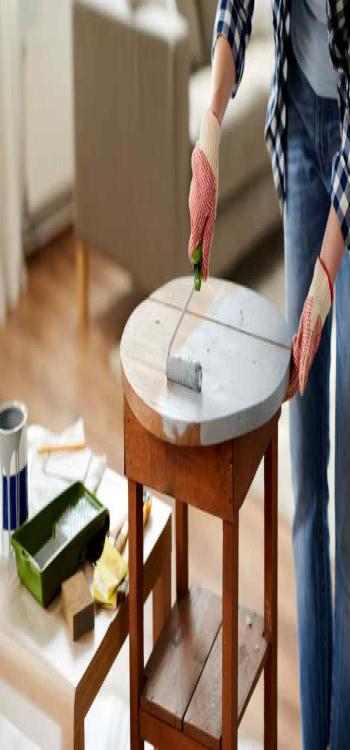
Crafting Brilliance: Applying the Painter's Touch
When applying paint, follow these steps for the best results:
- Thin and Even Coats: Apply paint in thin, even coats to achieve a smooth and uniform finish.
- Allow Drying Time: Let each coat dry completely before adding the next layer. This prevents drips and ensures proper adhesion.
- Patience is Key: Take your time and be patient during this process. Rushing can lead to uneven coverage and imperfections.
- Multiple Coats: Applying multiple thin coats provides better coverage and enhances the durability of the paint.
- Professional Finish: Following these steps results in a professional-looking finish that will last.
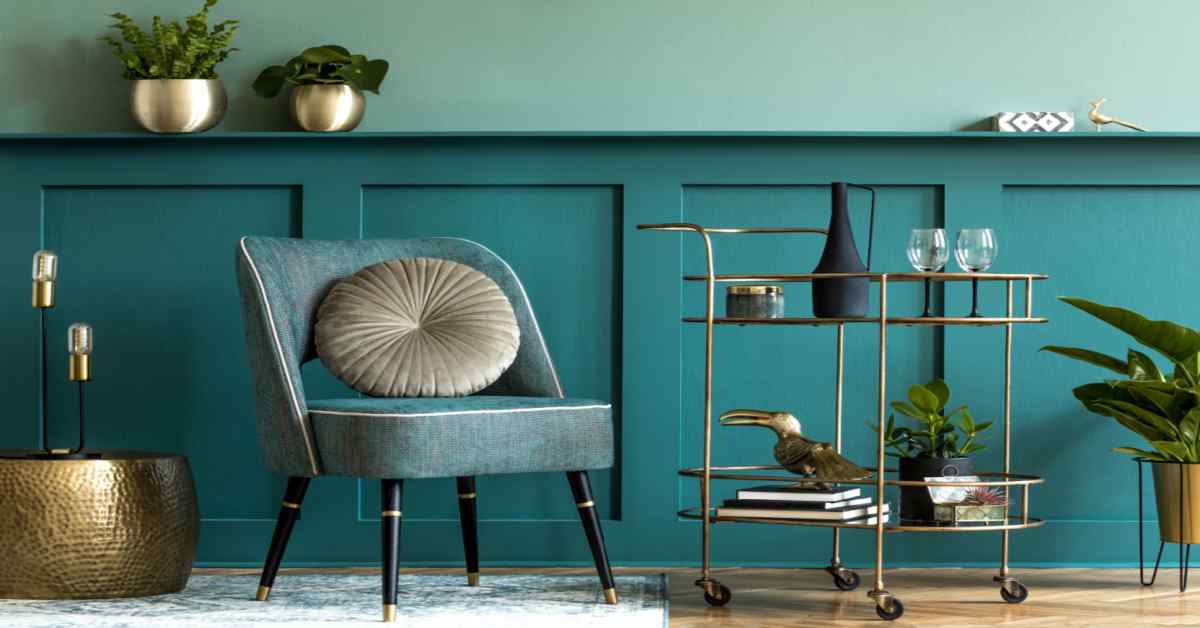
From Ordinary to Extraordinary: Adding Unique Finishes
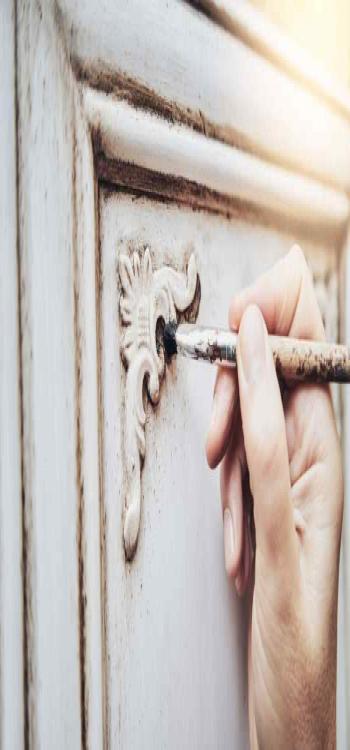
Looking to add a distinctive flair to your furniture? Dive into these creative techniques for a unique touch:
- Distressing: Create a worn, vintage appearance by gently sanding edges and corners, revealing the underlying wood.
- Antiquing: Apply an antique glaze to give your furniture an aged and weathered patina.
- Weathered Look: Achieve a rustic appearance by layering paint colors and then sanding through them to expose layers underneath.
- Patterns and Stencils: Add visual interest with patterns or stencils. They can range from intricate designs to subtle textures.
- Decorative Details: Enhance your piece with decorative hardware, trims, or embellishments for an elegant finish.
Guardians of Glamour: Sealing and Protecting Your Artwork

Preserving the longevity of your painted furniture requires effective sealing and protection. Consider these options to shield your masterpiece:
- Clear Coats: Transparent finishes that provide an invisible layer of protection while maintaining the original color and texture.
- Polyurethane: A durable and versatile option that offers resistance against scratches, spills, and UV rays.
- Wax: A traditional choice for a softer, matte finish. Wax provides a layer of protection while enhancing the furniture's texture.
- Choosing the Right Finish: Decide on the appropriate finish based on your furniture's placement and usage. For high-traffic areas, opt for a more robust protection like polyurethane.
Nurturing the Beauty: Caring for Your Painted Creations
Sustaining the allure of your painted furniture requires consistent upkeep. Here's how to maintain its splendor:
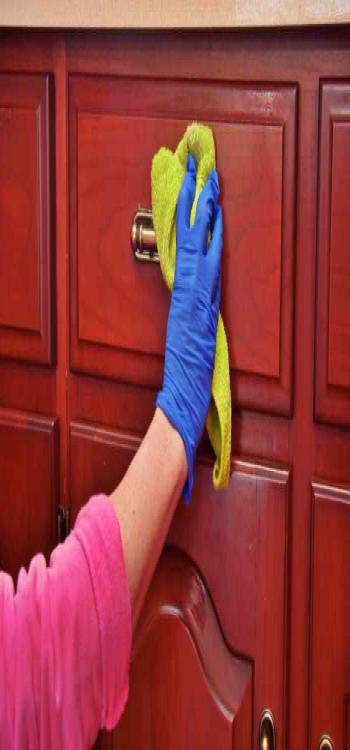
- Gentle Cleaning: Regularly wipe the surface with a damp cloth and mild soap to remove dust and dirt. Avoid abrasive cleaners that could damage the finish.
- Avoid Moisture: Keep your painted furniture away from excessive moisture or direct sunlight, as these factors can lead to fading or warping.
- Use Coasters and Mats: Place coasters under glasses and mats under hot dishes to protect the painted surface from potential damage.
- Inspect Regularly: Check for any signs of wear, chipping, or peeling paint. Address these issues promptly to prevent further damage.
- Reapply Protection: Over time, consider reapplying protective finishes like wax or polyurethane to maintain the integrity of the paint.
How NoBroker Can Help
Embarking on a painting project can be exciting but also time-consuming. NoBroker offers expert painting services to simplify the process. Our skilled professionals use quality materials and ensure timely completion of your projects. Transform your furniture hassle-free with NoBroker's painting services.
Frequently Asked Questions
A. Yes, by lightly sanding the varnish and using a suitable primer, you can paint over varnished wood furniture.
A. With proper care, painted wood furniture can last for years without fading or chipping.
A. Yes, a primer enhances adhesion and coverage, resulting in a smoother finish.
A. Absolutely, distressing techniques can add character and charm to your painted furniture.
A. Options like clear coats, polyurethane, and wax provide excellent protection and enhance longevity.
Painting Service in Top Cities in India
Recommended Reading

Best Furniture Polish for Antiques and Wooden Surfaces
January 31, 2025
6113+ views
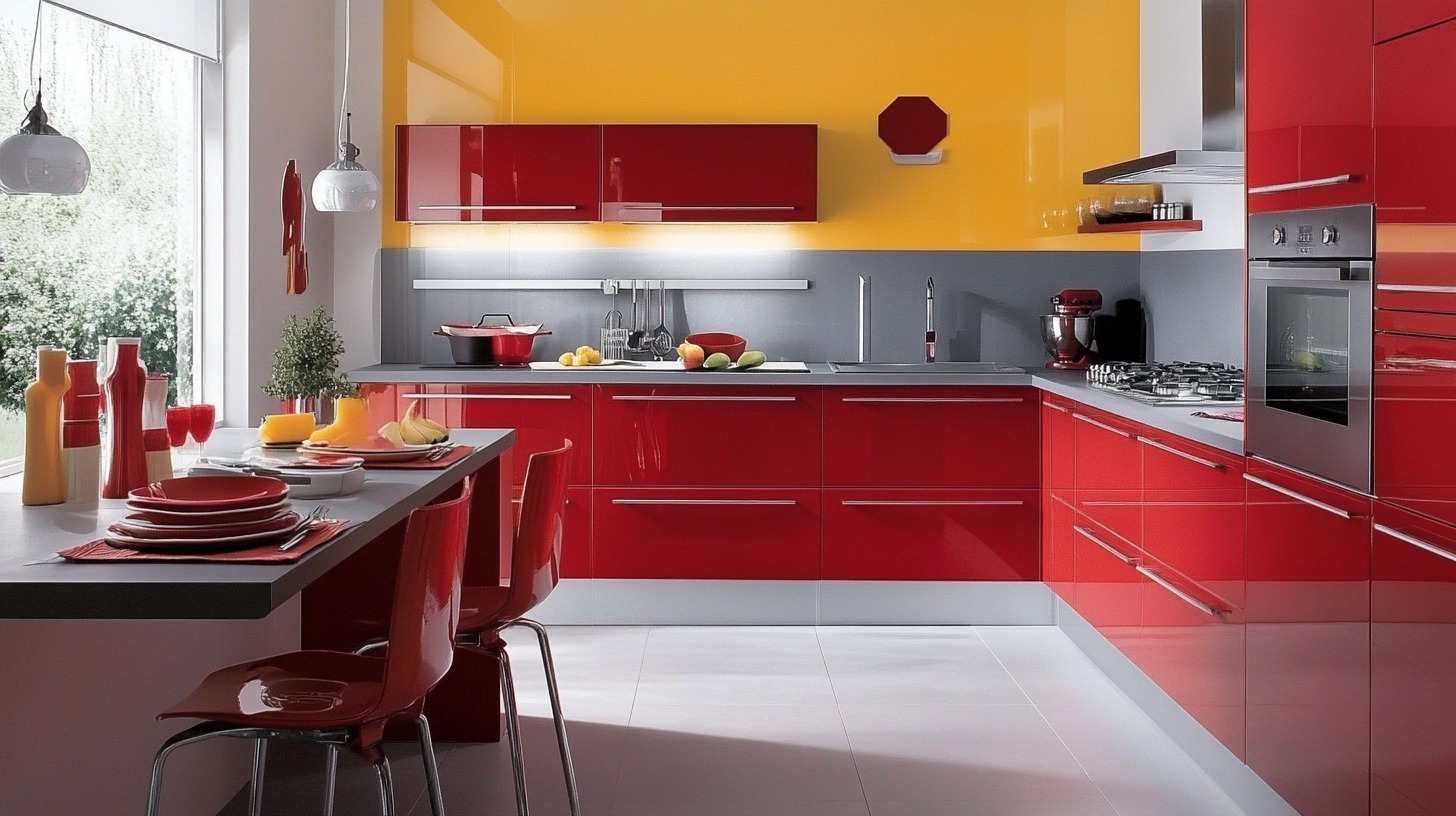
Kitchen Furniture Colour Combination: Top 15 Ideas and Trends for 2025
January 31, 2025
345+ views
Wooden Door Paints: Types & Benefits
January 15, 2025
7455+ views
Loved what you read? Share it with others!
NoBroker Painting Testimonials
Rook interior painting services from Nobroker, they came and did the work in 1 day for full house. The job was done to satisfaction and now the house looks amazin!
I have used paint service from No Broker. Paint quality was good and painter behaved in a professional way and provided services on time.
Good job ,timely completed,true professional and good behavior.
Nice work🙏
Value for money, go for it
Professional painting services provided by Nizam's team. We are extremely satisfied.
Best service by No broker with Sajid miya, Akbar Ali and Nizam Ji. polite nature, Good and experience and much more.
Very nice service
Excellent!!
Great service , competitive pricing
Reasonable quotation. Service provided by the painting vendor ok. Supervision missing from Nobroker end. Overall happy with the service.
Good service
I recently took painting services and I am satisfied with services. Professional partners, good team work, good quality of paints. 👍👍
Good quality of work for painting services done for my flat in sarai
Service was provided on time as per they confirmed the slot. And as well as the painter done his job perfectly .
Recently I booked painting services no broker at my house kalkaji and my god the work was done so good that i would really recommend this yo my friends
I have taken the services in Rohini sector 3 Delhi. the services are very good and the team is very responsive and they did very good work I am happy with the services
Got painting service done by Nobroker extremely good service
Professional painting services got done by Nobroker for our DDA flat.
Very good service. My house was painted in chanikaya Puri and the work was completed with in time. Partners were very professional. My 2bhk house costed around 11.5k for basic rental painting
I have a flat in jahangiripuri which i got painted through Nobroker. I was very happy with services and even in my absence work was completed ontime and supervisor shared me the photos post painting. Customer support was responded quickly and helped in getting services done Overall very good experience.
Good painting work, professional painters and happy with the service, as expected by No Broker, thank you for awesome service
Got it recently at my villa Karol bagh, great experience. 👍👍👍👍👍👍
I recently took painting services at Rohini and Mr Kareem and his team were excellent 👌👏
Trust worthy
I hired NoBroker to waterproof my entire house, and it was amazing to see such hard-working professionals at work with the minimal cost. A task that was finished with the utmost expertise. It's worth hiring them! Thanks a lot!
I wanted a one wall painting in my kid’s room and that’s why I approach the NoBroker professionals in Kengeri. With the creative art done on the wall, I am very much satisfied and now my kids enjoy playing in their room. All thanks to the professional team of painting service in Indira Nagar by Nobroker.
Before this festive season
get your house painted
Most Viewed Articles
40+ Best Stunning Two Colour Combinations for Bedroom Walls to Elevate Your Space in 2025
January 31, 2025
313871+ views
Top 25 Outside Color Combinations with Colour Codes for a Stylish Home in 2025
January 31, 2025
137376+ views
Asian Paint Price 20 Litre: Complete Guide to Different Variants and Costs in 2025
January 31, 2025
71610+ views
24 Latest Main Gate Colour Combinations for a Modern Look in 2025
December 28, 2024
54825+ views

Top Asian Paints Colour Codes: Transform Your Home with Latest Colours 2025
December 17, 2024
49398+ views
Painting Services in Top Cities of India
Top Paint Brands Price in India
| Asian Paints Price | Nerolac Paints Price |
| Berger Paints Price | Dulux Paints Price |
| Nippon Paints Price | Shalimar Paints Price |
| Indigo Paints Price |
 Author
Recent blogs in
27 Modern Light Blue Colour Combinations for Your Home 2025
March 13, 2025 by NoBroker.com
Top 12 Paint Manufacturers in Chennai 2025: Best Suppliers for Commercial and Residential Spaces
March 6, 2025 by Jessica Solomon
Join the conversation!