Table of Contents
Quality Service Guarantee Or Painting Free

Get a rental agreement with doorstep delivery

Find the BEST deals and get unbelievable DISCOUNTS directly from builders!
5-Star rated painters, premium paints and services at the BEST PRICES!
Loved what you read? Share it with others!
Glass Bottle Decoration with Lights
Table of Contents

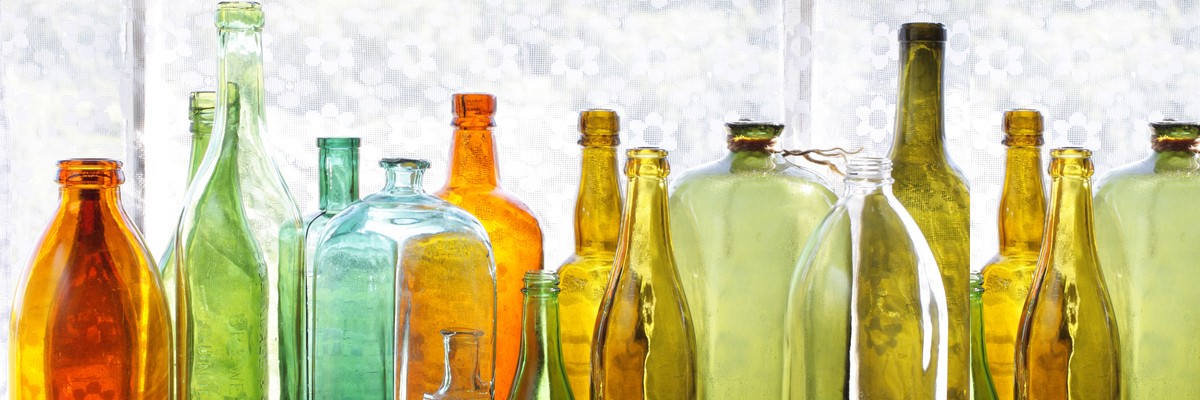
Wondering what to do with those glass bottles that are piling up at home? You could make them the centrepiece of your home with our latest DIY project. Don’t throw them away just yet, these bottles clear or coloured, plain or printed can be used. Below are easy ways to repurpose them and make pretty additions to your home. We give you fun ideas and go beyond asking you to decorate your glass bottles with paint!
DIY glass bottle lamp
Makes for a perfect corner table lamp in your living room. You could also use it on a console table or in a nook in your bedroom for a touch of warm lighting or as I would like to call it - mood lighting.
What you need: a wide-mouthed glass bottle (Absolute vodka bottles or large olive oil bottles work best), a string of fairy lights (short)
Steps:
1. Clean and dry your glass bottle. Remove the plastic stopped with the help of a glass cutter (if the bottle has one).
2. Slowly place one end of the fairy lights in the bottle and begin stuffing it gently. Use a pen or a stick for help. Make sure you don’t overlap too much; it could cause a short circuit.
3. Use any fairy lights you like – yellow, blue, multicoloured.
4. Now place your lamp on the table and plug in the other end to a socket. Your lamp is ready.
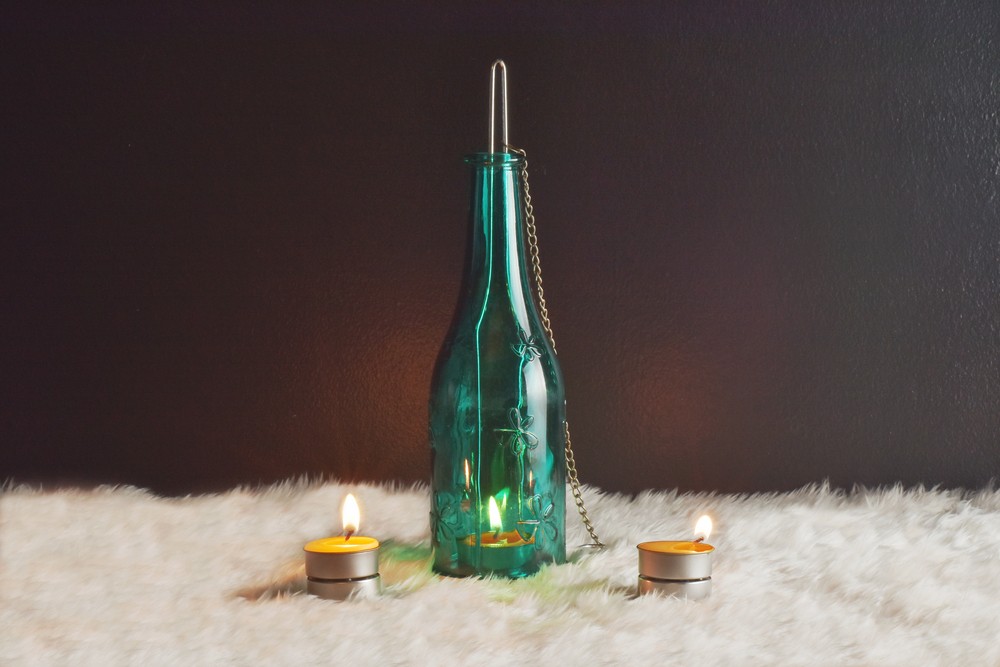
Glass bottle candle shelter
Candle shelters are exactly that, shelters for your candle while they burn to prevent them from getting extinguished by the wind. They also help create a magical effect out of the candlelight.
What you need: a coloured glass bottle (beer bottles work too), tea light candles and a good glass cutter.
Steps:
1. Clean and dry the bottle, making sure you remove all labels and gum.
2. Now use a glass cutter and cut the bottom half of the bottle. You can also get professional help for this.
3. Make sure the edges are smooth and not sharp.
4. Now, all you need is a tea light candle. Light the candle and place your candle shelter on top.
5. Work your magic and paint your candle shelter using glass colours. Now, watch the interesting patterns it makes on your walls.
Use them as vases or planters.
Used bottle jars and bottles in a variety of sizes and shapes make for adorably adorable planters. For a straightforward, rustic appearance, bundle some dried bouquet fillers. For a more upbeat appearance, choose fresh flowers. Plants could be placed in these bottle jars. Just make sure they receive adequate ventilation and nutrition through regular fertiliser feedings. Common ivy, spider plants, purple hearts, coleus, sweet potato vine, and other plants can all be grown in bottle jars or bottles. Add ropes, vines, paint, or other embellishments to the bottle decoration ideas as you see fit. With these plants in bottle bottles, you could also create your own terrarium.
Quality Service Guarantee Or Painting Free

Get a rental agreement with doorstep delivery

Find the BEST deals and get unbelievable DISCOUNTS directly from builders!

5-Star rated painters, premium paints and services at the BEST PRICES!
Transform them into stylish decor items
All you must do is make a brief trip to the local hobby shop to pick up some supplies. For instance, carefully apply a metallic colour to your bottles using spray paint. It won't be obvious to anyone that these were once your used wine bottles. You can also use cutouts or stencils to make patterns on your bottles. To prevent staining incidents, make sure you're wearing gloves and a mask and painting the bottle DIY in a well-lit area.
Use Fairy Lights in Bottle As Organisers For Your Vanity
The most adorable and fashionable storage options are used mason jars. They work particularly well for keeping earbuds, cotton swabs, and makeup brushes organised. Use them as-is or make minor adjustments to transform them. Painting a Mason jar and then sanding it is a fantastic way to decorate it. We're confident you'll adore the style! Take it easy when rubbing, just a little advice. You can also leave the jars' exteriors alone and fill them with pretty craft supplies like glitter or faux pearl beads.
NoBroker has plenty of DIY projects that you could try as well as plenty of simple, affordable ways to beautify your home. If you’re looking to buy or rent a new home do visit our site today by clicking below.

FAQ's
Ans. Try painting bottles to decorate them. Your bottles should first be cleaned with cleaning alcohol and then dried. Then, using gloss enamel craft paint, decorate your bottles however you like.
Ans. Any common paint will actually adhere to glass. However, acrylic, spray or chalk paint can also be used.
Ans. Will acrylic paint adhere to glass? is the key query. Yes, you can paint over the glass with acrylic paint. This does not imply, though, that it will always stick readily. Over the smooth glass surface, a primer should be applied for the best results.
Ans. Acrylic varnish works very well to stop acrylic paint from breaking off a glass surface. Acrylic varnish is most frequently used to seal paintings and safeguard the exterior from damage and fading. The varnish is easy to use and is offered in art supply stores and online.
Ans. There are many applications for clear nail polish that you probably haven't thought of because it works so well as a sealer, glue, and protective layer.
Loved what you read? Share it with others!
Most Viewed Articles
15 Safety Rules at Home for Kids
May 18, 2020
419129+ views
Plants That Need Only Water to Grow and How it is Different from Hydroponics
July 27, 2023
123379+ views

Kutcha House - Construction, Purpose and Significance!
January 15, 2025
58880+ views

10 Best Ways to Get Rid of Houseflies at Home: DIY & Quick Fixes for 2026
January 31, 2025
52507+ views
Best Out-of-Waste Ideas to Decorate Your Home
January 31, 2025
48978+ views
Recent blogs in
How to Start a Terrace Garden - Ideas & Design Guide 2026
August 20, 2025 by NoBroker.com
Indoor Gardening Tips & Techniques for Beginners
August 20, 2025 by Anda Warner
5 Budget-Friendly Ways to Decorate Your Balcony
January 31, 2025 by NoBroker.com
How to Keep Your House Smelling Good All the Time?
January 31, 2025 by NoBroker.com
DIY Christmas Decoration: Tree Craft and More
January 31, 2025 by NoBroker.com


 Full RM + FRM support
Join the conversation!